In case you are wondering, yes I have a contract with Clover.
We left off with an array of boards reclaimed from Sierra Nevada.
From the first stack of wood I salvaged from smaller pallets, I set to making structural members. Using the rip fence on my trusty little circular saw, the heavy duty supports were ripped in half.

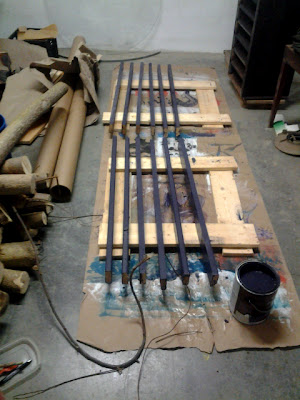
This yielded twelve sticks at 42" to use for framing.
The idea is to provide a complete base coat on all surfaces of the untreated lumber, even unexposed end-grain cuts when possible. The final coat will come from only half a quart of a brilliant red, which should create a streaky, rustic finish as it fights to cover the darker purple.

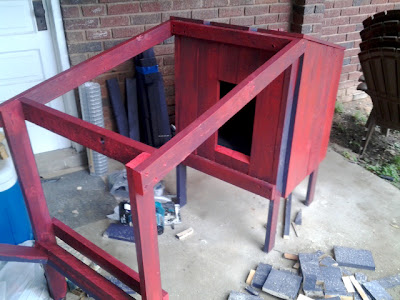
Here is the rough framing for the covered section of the hutch.
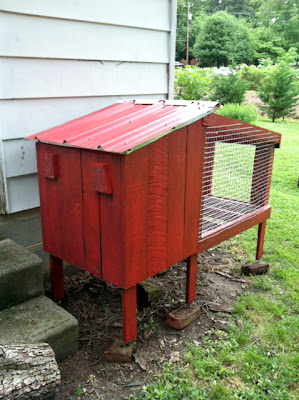
Now with siding complete, it begins to feel like home.
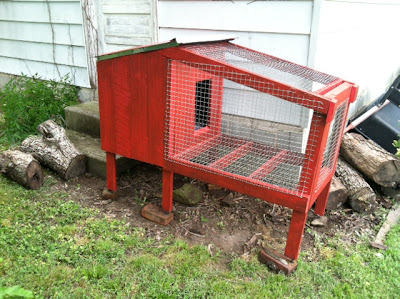
The open section is connected and the front door is tested.
The front and back door function with simple block latches.
The metal roof was cut from a piece of scrap. Most of the fasteners were leftovers or salvage from previous projects. Rubber washer screws, elevator bolts, mesh and fence staples were purchased new.
A big thank you goes out to Don Schjeldahl of Sierra Nevada for the opportunity. And also to the Rimer family for trusting me to build this fun and fulfilling little farm house. If anyone has a truck and an idea, I would love to gather more wood from Mills River and build another dream . . .





No comments:
Post a Comment